FREE SHIPPING OVER $50
The 4 Dumbbell Moves a 58-Year-Old Swears Built Her Strongest, Most Sculpted Arms — and She Started After Menopause
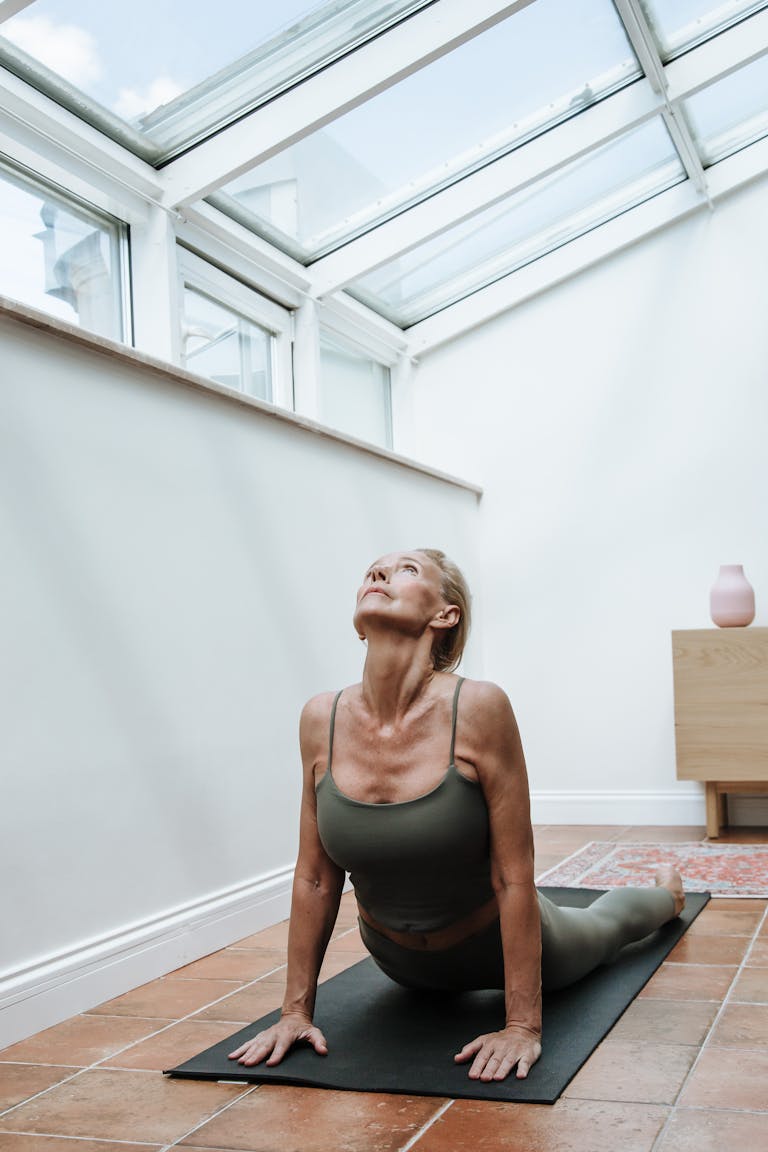
If you have noticed that your arms aren’t as firm as they used to be, or if the dreaded “bat wing” sag has made you retire your favorite sleeveless tops, you might feel like your best physical years are behind you. This is a common sentiment after menopause, as the sudden drop in estrogen can lead to a rapid loss of muscle mass and a decrease in skin elasticity. However, a 58-year-old fitness enthusiast has recently gone viral for proving that you can actually build your strongest, most sculpted arms well into your fifties, even if you didn’t start until after the “change.” The secret isn’t hours of grueling cardio or complex gym machinery; instead, it is a targeted anti-gravity protocol using just four simple dumbbell moves.
The Menopause Muscle Gap: Why Arms Sag
To fix the problem, we first have to understand the biological shift that occurs during and after menopause. Estrogen isn’t just a reproductive hormone; it is a major player in Muscle Protein Synthesis. When estrogen levels fall, your body becomes less efficient at repairing muscle fibers and more prone to storing fat in the upper arms.
This creates what experts call the “Menopause Muscle Gap.” Without a specific resistance signal, the triceps begin to atrophy. Because the triceps make up about two-thirds of your upper arm’s mass, their decline is the primary reason for the sagging skin we often see. The good news is that resistance training acts as a hormonal mimetic, sending a signal to your body to preserve and rebuild muscle tissue even when estrogen is low.
4 Dumbbell Moves That Sculpt Your Arms
1. The Overhead Triceps Extension (The “Lift” Move)
If you want to eliminate arm sag, you have to target the Long Head of the triceps. This is the only part of the arm that attaches to the shoulder blade, meaning it provides the “lift” and “fullness” at the top of the arm. The Overhead Triceps Extension is the most effective way to place this muscle under a deep stretch.
To perform this move, hold a single dumbbell with both hands, lift it over your head, and slowly lower it behind your neck while keeping your elbows tucked close to your ears. This deep stretch creates a high amount of mechanical tension, which is the primary driver of muscle growth. By strengthening the long head, you are essentially creating an internal “splint” that pulls the skin tight and provides a firm, sculpted look.
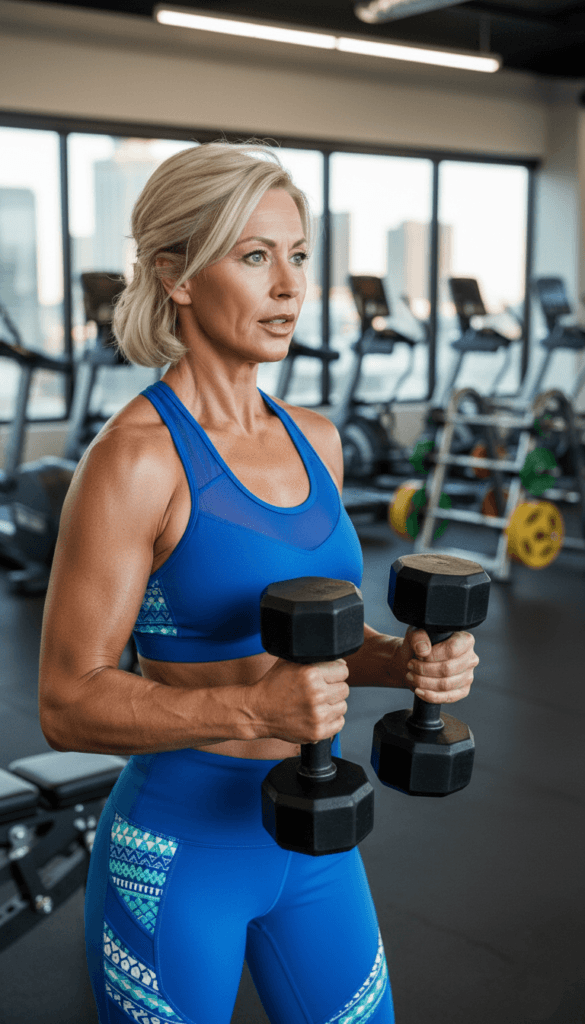
2. The Hammer Curl (The “Width” and Definition Move)
While standard bicep curls are great, the Hammer Curl is the secret weapon for arm definition. By holding the dumbbells with your palms facing each other (a neutral grip), you target the Brachialis. This is a muscle that sits underneath the bicep.
When the brachialis grows, it literally “pushes” the bicep up, making your arms look more defined from the side. Additionally, this move strengthens the Brachioradialis in your forearm, giving you a lean, athletic look that extends all the way to your wrist. For women over 55, this “Lower Arm Resilience” is also vital for grip strength and bone density in the wrists.
3. The Floor Press (The Functional Base)
Many women avoid chest exercises because they fear looking “bulky,” but the Floor Press is essential for sculpted arms. By lying on the floor and pressing dumbbells upward, you limit the range of motion, which protects the shoulder joint while allowing you to use slightly heavier weights.
This move targets the lateral and medial heads of the triceps as well as the front of the shoulders (deltoids). Developing the “Shoulder Cap” is what creates the visual separation between your arm and your shoulder, which is the hallmark of a “sculpted” look. Transitioning to the floor also provides a stable base, making it a safer alternative to the bench press for those concerned about lower back or shoulder stability.
4. The Dumbbell Lateral Raise (The “Taper” Move)
Nothing makes arms look leaner than well-defined shoulders. The Lateral Raise involves lifting dumbbells out to your sides until they are level with your shoulders. This targets the Medial Deltoid, which is the muscle responsible for the width of your frame.
By slightly widening the shoulders, you create a natural “V-taper” that makes the rest of the arm—and even the waistline—appear smaller and more toned. This move is less about heavy weight and more about Time Under Tension. Slow, controlled repetitions ensure that you are engaging the muscle fibers without relying on momentum, which is the key to creating that sleek rather than bulky appearance.
Why “Post-Menopausal” Training Requires a Different Approach
The 58-year-old behind this routine emphasizes that her success came from shifting away from high-rep, low-weight toning exercises. After menopause, your bones and muscles need a heavier load to respond.
The Sculpting Protocol: Intensity vs. Volume
| Exercise | Primary Target | Rep/Set Goal | Why It Works After 50 |
| Overhead Extension | Triceps Long Head | 3 Sets of 10-12 | Eliminates sag by stretching the muscle. |
| Hammer Curls | Brachialis | 3 Sets of 12 | Pushes the bicep up for better “peek” definition. |
| Floor Press | Triceps & Chest | 3 Sets of 8 | Allows for heavier weight with zero shoulder strain. |
| Lateral Raise | Medial Deltoid | 3 Sets of 15 | Creates the “cap” that makes arms look lean. |
By using a weight that feels challenging by the 8th or 10th rep, you trigger bone building and muscle hypertrophy. This is the signal your body needs to override the hormonal slowdown of menopause.
Recovery and the Protein Threshold
Building muscle at 58 requires more than just lifting; it requires a specific focus on nutritional support. As we age, we develop anabolic resistance, meaning our muscles become less sensitive to the protein we eat.
To overcome this, you need to hit a protein threshold of about 25 to 30 grams of high-quality protein at every meal. This ensures that your body has the amino acids necessary to repair the muscle fibers you worked during your dumbbell routine. Pairing your 4-move protocol with a protein-rich diet is the fastest way to see visible changes in arm definition.
Managing Your Joint Health
The beauty of these four moves is that they are joint-friendly. However, if you have spent years away from the gym, you may need to make minor adjustments to avoid inflammation.
- Warm Up the Fluid: Before picking up weights, perform two minutes of “Arm Circles” to get synovial fluid moving into the shoulder and elbow joints.
- Neutral Grips: If your wrists ache during curls, stick to the Hammer Curl grip, as it puts the least amount of torque on the joint.
- Focus on Eccentrics: Spend three seconds lowering the weight and only one second lifting it. The “lowering” phase (eccentric) is where the most muscle shaping happens and is often easier on the joints than the explosive lifting phase.
Related Articles
- Most Walkers Skip This Easy Pre-Walk Step That Prevents Knee and Hip Pain After 45
- The 5 Agility Tests Physical Therapists Use to Predict How Well You Will Function in Your 70s and 80s — Take Them Now
- The “Age Test” Experts Use: If You Struggle With These 5 Movements, You’re Aging Faster Than You Think
- A Top Pilates Instructor Calls These the Best Exercises for Undoing What a Desk Job Does to Your Body — and the Results Speak for Themselves
- I Quit Squats and Lunges for 30 Days and Did This One Pilates Move Instead — My Glutes, Core, and Lower Back Have Never Felt Better