FREE SHIPPING OVER $50
My Grandparents Did a Grand Canyon Descent at 68 and 70—They Shared the Exact Training Routine That Made It Possible
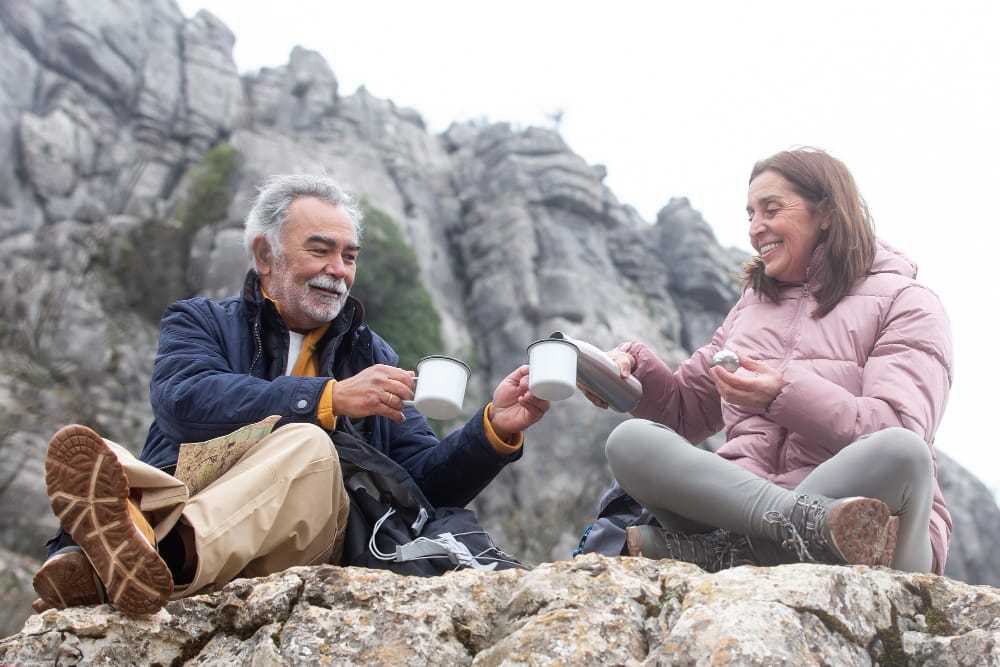
When my grandparents announced their plan to hike down into the heart of the Grand Canyon for their wedding anniversary, our entire family naturally panicked. Standing at the South Rim and looking down into that vast, vertical abyss is breathtaking, but actually hiking it requires descending thousands of vertical feet across steep, unforgiving desert switchbacks. For senior hikers, this type of intense endurance trekking poses massive structural challenges, specifically threatening the knees, lower back, and ankle stability. Yet, at ages 68 and 70, my grandparents completed the grueling trek safely, smoothly, and without a single joint injury. Their secret had nothing to do with superior genetics or intense, youthful gym workouts. Instead, they relied on a highly strategic, low-impact preparation method that rebuilt their structural durability from the feet up.
The Hidden Danger of Canyon Hiking: Eccentric Stress
To build an effective training routine for a Grand Canyon descent, you must first understand the unique physical demands of hiking below the rim. Most people assume that hiking up out of the canyon is the hardest part of the journey. While climbing requires massive lung capacity and cardiovascular power, walking down is actually what inflicts the most severe structural damage on your body.
When you walk down a steep decline for hours at a time, your lower body must perform constant eccentric muscle contractions. An eccentric contraction occurs when a muscle lengthens under a heavy load, acting exactly like a car brake to control your descent against gravity. This repetitive braking mechanism places tremendous pressure directly on your patellofemoral joints (your knees) and causes micro-tears in your quadriceps.
Without targeted strength training, your thigh muscles will fatigue rapidly during the first few miles, forcing your knees and lower back to absorb the remaining shock. This mechanical failure is why many unprepared hikers experience severe joint pain, muscle spasms, and stability loss halfway down the trail.
Structural Demands: Climbing vs. Descending
| Performance Metric | The Canyon Descent (Downhill) | The Canyon Ascent (Uphill) |
| Primary Muscle Action | Eccentric (Braking and lengthening) | Concentric (Pushing and shortening) |
| Primary Joint Stress | High impact on knees, ankles, and lumbar spine | High workload on hip flexors and calves |
| Cardiovascular Demand | Moderate heart rate; low oxygen consumption | Extremely high heart rate; maximum lung capacity |
| Main Injury Risk | Patellar tendonitis, rolled ankles, muscle tears | Cardiovascular exhaustion, heat illness, cramping |
The 3-Phase Grand Canyon Training Blueprint
My grandparents spent exactly twelve weeks preparing their bodies for the unique mechanical stressors of the canyon. They broke their physical preparation down into three progressive phases, focusing entirely on structural stability, eccentric leg strength, and loaded endurance.
Phase 1: Foundations and Joint Stability
The opening four weeks of the routine focus entirely on reinforcing the delicate stabilizing muscles around the ankles, knees, and hips. Before adding heavy cardio mileage or steep hill work, you must ensure your joints can maintain perfect tracking under pressure.
Step 1: Single-Leg Balance Holds
Stand barefoot on a flat surface, lift one foot off the ground, and hold your balance for 60 seconds per side. This simple drill wakes up the tiny proprioceptors in your ankles and feet, which helps prevent dangerous trips and rolled ankles on rocky, uneven trail switchbacks.
Step 2: Step-Downs
Stand on a low step or block. Slowly lower one foot toward the floor by bending your opposite knee, taking three full seconds to drop down, then press back up. Complete 3 sets of 15 repetitions per leg to build targeted strength in the vastus medialis, which is the specific quad muscle that stabilizes the kneecap.
Step 3: Glute Bridges
Lie on your back with your knees bent and feet flat on the floor. Squeeze your glutes and lift your hips toward the ceiling, creating a straight line from your shoulders to your knees. Hold the top position for 2 seconds before lowering down to build lower back resilience and hip support.
Phase 2: Eccentric Conditioning and Strength
With a solid foundation of joint stability in place, the next four weeks shift toward building functional strength. This phase mimics the continuous braking forces your legs will encounter during the long descent to the canyon floor.
Weeks 5 and 6: The Reverse Lunge Matrix
Perform step-back reverse lunges to build deep unilateral leg strength without placing excessive shear force on your kneecaps. Take a large step backward, lower your back knee smoothly toward the ground, and push through your front heel to return to standing. Complete 3 sets of 12 repetitions per leg.
Weeks 6 and 7: The Weighted Goblet Squat
Hold a light dumbbell or a heavy water jug against your chest while performing strict squats. Take 4 full seconds to lower your hips down to parallel, pause for 1 second at the bottom to eliminate elastic momentum, and rise up in 1 second to condition your thighs for loaded hiking.
Weeks 7 and 8: The Incline Treadmill Walk
Begin walking on a treadmill set to a steep incline of 8 to 12 percent at a slow, steady pace for 45 minutes. This workout conditions your calves, achilles tendons, and cardiovascular system for the inevitable climb back out of the canyon without generating high-impact joint stress.
Phase 3: Specificity and Loaded Endurance
The final four weeks of preparation translate your newly built muscle tissue into real-world endurance. During this phase, you must practice using your actual hiking gear under simulated trail conditions to ensure your body adapts seamlessly.
- The Stair Climbing Protocol: Locate a local football stadium, a tall office building, or a gym stair-climber machine. Spend 60 minutes climbing up and down the stairs twice a week, focusing on planting your entire foot flat on each step to maximize glute recruitment and reduce calf fatigue.
- The Weighted Backpack Simulation: Pack your actual hiking backpack with roughly 10 to 15 pounds of weight, using water bladders or blankets. Wear this loaded pack during all your weekend training walks to condition your core and shoulders to carry the necessary gear.
- The Downhill Trail Walk: Find a local hiking trail with a sustained downhill slope. Practice walking down the decline using short, choppy steps, keeping your knees slightly bent at all times to absorb the impact through your muscles rather than your joints.
Essential Gear Tips My Grandparents Swear By
Physical training is only half of the safety equation when tackling a massive canyon descent. You must also use the proper mechanical tools to protect your structure during the journey.
First, you must use a pair of high-quality, adjustable trekking poles. Hiking with poles effectively transfers up to twenty percent of the total physical workload away from your knees and lower back, distributing the weight across your upper body instead. When hiking downhill, lengthen your poles slightly so your elbows maintain a comfortable 90-degree angle when the tips strike the trail ahead of you.
Second, do not hike in brand-new boots. My grandparents wore their trail shoes during every single training walk in Phase 3 to break them in fully and prevent painful blisters. Pair your footwear with high-quality merino wool hiking socks to reduce friction and pull moisture away from your skin.
Related Articles
- Build Lean Muscle After 40: 8 Trainer‑Backed Workouts That Reverse Age‑Related Muscle Loss
- Men Over 40: Fix Your Neck & Upper Back Pain with These 5 Uncommon Moves (From a Spine Surgeon!)
- Trainer’s Secret: 5 Resistance Band Moves For Full-Body Strength (No Gym Needed!)
- The Scientist-Backed Leg Day Hack: Curls BEFORE Squats for Explosive Hamstring Growth & Less Fatigue
- Defy Age: 4 Strength Workouts to Rebuild Muscle & Boost Vitality After 50