FREE SHIPPING OVER $50
3 Yoga Moves That End Back Pain Fast — What Instructors Always Teach
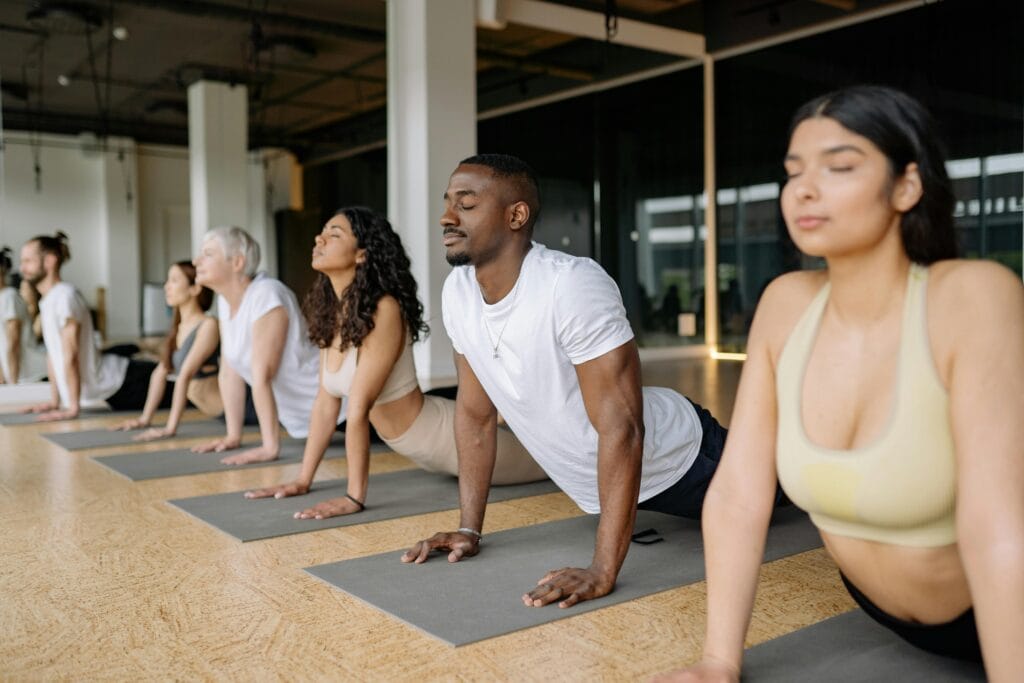
Back pain is an uninvited guest that refuses to leave. Whether you spend your days hunched over a laptop or you’re feeling the strain of a long commute, that dull ache in your lower back can quickly derail your productivity and mood. While many people reach for the heating pad or over-the-counter relief, yoga instructors have a secret: movement is often the best medicine.
Yoga isn’t just about flexibility; it’s about structural alignment. Most back pain stems from tight hamstrings, a weak core, or compressed vertebrae. By focusing on specific, targeted poses, you can decompress the spine and switch off the pain signals.
Why Yoga Works for Back Pain
Before diving into the moves, it is important to understand why yoga is the gold standard for back health. Unlike high-impact exercises that can jar the spine, yoga emphasizes controlled, mindful stretching.
- Spinal Decompression: Creating space between the vertebrae allows for better blood flow.
- Core Engagement: Strengthening the “corset” of muscles around your midsection protects the spine.
- Stress Reduction: Chronic pain is often linked to high cortisol levels; yoga lowers stress, which in turn reduces muscle tension.
| Feature | How it Helps Back Pain |
| Increased Blood Flow | Delivers oxygen to damaged spinal tissues. |
| Muscle Lengthening | Relieves tension in the glutes and hamstrings that pulls on the lower back. |
| Improved Posture | Trains the body to sit and stand without slouching. |
3 Yoga Moves for Back Pain
1. Cat-Cow Pose (Marjaryasana-Bitilasana)
If you ask any certified instructor for a “starter” move for back relief, they will point you to Cat-Cow. This isn’t just one pose; it is a synchronized flow that moves the spine through its full range of motion.
How to Do It:
- Start on your hands and knees in a tabletop position.
- Ensure your wrists are directly under your shoulders and knees under your hips.
- Inhale (Cow Pose): Drop your belly toward the floor, lift your chest and chin, and look up.
- Exhale (Cat Pose): Round your spine toward the ceiling, tucking your chin to your chest and pulling your navel in.
Why Instructors Teach It:
This move acts as a “reset button” for the nervous system. By undulating the spine, you are lubricating the spinal discs and stretching the back muscles and neck. It’s an active way to identify where your tension is hiding.
2. Child’s Pose (Balasana)
Child’s Pose is the ultimate restorative posture. It is a resting position that allows the entire length of the back to lengthen passively. For those with chronic lower back tightness, this move provides an immediate “release” sensation.
How to Do It:
- Kneel on the floor with your big toes touching.
- Sit back on your heels and separate your knees about hip-width apart.
- Fold forward, laying your torso between your thighs.
- Rest your forehead on the mat and extend your arms in front of you.
Why Instructors Teach It:
Instructors emphasize this pose because it elongates the lower back (the lumbar spine). It effectively stretches the hips and thighs, which are often the hidden culprits behind back discomfort. When your hips are tight, your lower back has to work harder to compensate.
3. Sphinx Pose (Salamba Bhujangasana)
For people who spend all day sitting, the spine is constantly in a state of “forward flexion” (slumping). Sphinx Pose provides a gentle backbend that counteracts this slouching. It strengthens the spine while opening the chest.
How to Do It:
- Lie on your stomach with your legs extended behind you.
- Place your elbows under your shoulders and your forearms on the floor, parallel to each other.
- Press your pubic bone into the mat and lift your chest.
- Keep your neck long and gaze forward.
Why Instructors Teach It:
Unlike deeper backbends like Cobra or Upward Dog, Sphinx Pose is accessible and puts minimal pressure on the lower back. It helps restore the natural curve of your spine, which is vital for long-term pain prevention.
Maximizing Your Results: Pro Tips
Simply doing these moves once won’t fix years of poor posture. Consistency is the primary driver of success in yoga. To get the most out of these movements, keep these factors in mind:
- Breathe Deeply: Use “Ujjayi” breathing (constricting the back of the throat) to send oxygen to your muscles.
- Don’t Push Too Hard: Yoga should feel like a “good hurt”—a deep stretch, not a sharp pain.
- Warm Up: Even five minutes of walking can make your muscles more pliable for these stretches.
When to See a Professional
While yoga is incredibly effective for general tension and postural issues, certain symptoms require a medical consultation. If your back pain is accompanied by numbness, tingling down the legs, or extreme sharp pain, consult a physical therapist or doctor. Yoga is a supplement to a healthy lifestyle, not a replacement for medical care in acute injury cases.
Final Thoughts
Ending back pain doesn’t always require expensive equipment or invasive treatments. By incorporating these yoga moves into your daily routine, you address the root causes of discomfort: compression and tension. These three moves are the foundation of what instructors teach because they work quickly and safely. Start today, stay consistent, and give your back the relief it deserves.
Related Articles
- Flabby Arms?: The 4 “Anti-Gravity” Moves That Tighten Bat Wings Faster After 45
- 92% of New Year Workouts Fail by February: The ‘Identity Shift’ Secret to Beating the Odds
- The 5 Secret Exercises A-List Celebrities Swear By to Stay Muscular at Any Age
- Stop Wasting Hours: Scientists Say This 20-Minute Window Is the ONLY Time You Need to Build Muscle
- 5 Chair Exercises That Flatten Belly Fat Faster Than Crunches (Perfect for Women Over 50)