FREE SHIPPING OVER $50
The Upper Chest Most Lifters Never Fully Develop — and the Bodybuilder Trick That Finally Fixes It
You have likely spent hundreds of hours under a flat bench press, chasing a heavy one-rep max, only to look in the mirror and see a chest that looks “bottom-heavy.” This “hollow” look near the collarbone is the hallmark of a lifter who understands effort but lacks a grasp of muscular anatomy. While the flat bench is great for overall mass, it primarily targets the sternal head of the pectoralis major, leaving the clavicular head—the actual “upper chest”—virtually untouched. If you want that thick, “armor-plate” look that fills out a t-shirt and creates a visual “shelf” beneath your neck, you have to stop thinking about pressing movements as a one-size-fits-all solution. Professional bodybuilders have known for decades that building a massive upper chest isn’t about moving the most weight; it is about manipulating the angle of the shoulder joint to force the upper fibers to take over the load.
Understanding the Clavicular Head: Anatomy of the “Shelf”
To build the upper pecs, you first need to understand that the chest is not one single muscle. It is split into two distinct regions: the pectoralis major (sternal head) and the pectoralis minor, but more importantly for aesthetics, the clavicular head. This upper portion of the pec originates at the collarbone and inserts into the humerus. Its primary function is shoulder flexion—lifting the arm in front of the body.
Most lifters fail to develop this area because they treat “incline” work as a secondary accessory rather than a primary builder. Furthermore, when they do perform incline presses, they often use an angle that is too steep, which shifts the tension from the upper pecs to the front deltoids. If your shoulders are exhausted but your chest feels nothing, your anatomy is working against your goals.
The “Bodybuilder Trick”: The 30-Degree Precision Fix
The “trick” that most elite bodybuilders use isn’t a secret pill; it is a fundamental shift in bench geometry. Most gym-standard incline benches are set at a 45-degree angle. While this feels like a significant incline, biomechanical studies show that once you pass the 30-degree mark, your anterior deltoids (front shoulders) become the primary mover.
By dropping the incline to a 15 to 30-degree angle, you maintain the tension on the clavicular fibers while minimizing shoulder involvement. This “Low Incline” approach is the secret to filling out the upper chest without destroying your rotator cuffs. It allows for a greater range of motion and puts the upper pec fibers in a direct line of pull with the weight.
The Incline Hierarchy: Finding Your Sweet Spot
| Bench Angle | Primary Muscle Targeted | Best Exercise Choice | Result |
| 0° (Flat) | Mid/Lower Pecs | Barbell Bench Press | General mass, “bottom-heavy” look |
| 15-30° (Low Incline) | Upper Pec (Clavicular) | Dumbbell Incline Press | The “Shelf” look, collarbone fullness |
| 45° (Standard Incline) | Front Delts / Upper Pec | Incline Smith Machine | Shoulder-heavy, less chest isolation |
| 60°+ (High Incline) | Anterior Deltoids | Military Press | Shoulder width, zero chest impact |
Why Dumbbells Trump Barbells for Upper Pecs
If you are struggling with upper chest development, it is time to put the barbell aside for a few weeks. Barbells are excellent for moving maximum weight, but they lock your hands into a fixed position. This often leads to the shoulders taking over the movement to protect the wrists and elbows.
Dumbbells, however, allow for a converging movement pattern. As you press the dumbbells up, you can bring them together at the top, which creates an intense peak contraction in the upper pec fibers. Additionally, dumbbells allow for a deeper stretch at the bottom of the movement. Since muscle fibers are most susceptible to growth-inducing micro-tears when they are stretched under load, this extra inch of depth can be the difference between a flat chest and a “shelf.”
The “Clavicular Anchor”: Mind-Muscle Connection
Bodybuilders don’t just “push” the weight; they “anchor” their mind to the muscle they are trying to hit. To engage the upper chest, you must practice the scapular retraction technique. Before you even touch the weights, pin your shoulder blades back and down into the bench. This opens up the ribcage and puts the upper pecs in a position of mechanical advantage.
One specific trick used by pros is to imagine you are “pulling the dumbbells apart” as you lower them and “squeezing your elbows together” as you press up. Notice I said elbows, not hands. Your pecs move the humerus (upper arm bone). By focusing on bringing your biceps toward your midline, you force the upper pec fibers to shorten fully, creating that dense look near the collarbone.
Correcting the “Internal Rotation” Mistake
A common mistake that “kills” upper chest growth is internal shoulder rotation. When the weight gets heavy, most lifters let their elbows flare out to the sides at a 90-degree angle. This puts a massive amount of stress on the shoulder joint and takes the tension off the pecs.
To fix this, tuck your elbows in slightly—about 45 to 60 degrees relative to your torso. This position aligns the weight with the natural orientation of the upper pec fibers. Not only will this protect your shoulders, but you will also find that you can “feel” the upper chest working much more clearly throughout the entire range of motion.
The “Shelf-Building” Routine: A 3-Week Specialized Protocol
If your upper chest is a weak point, you need to prioritize it. This means doing your upper chest work first in your routine when your energy levels and neurological drive are at their peak.
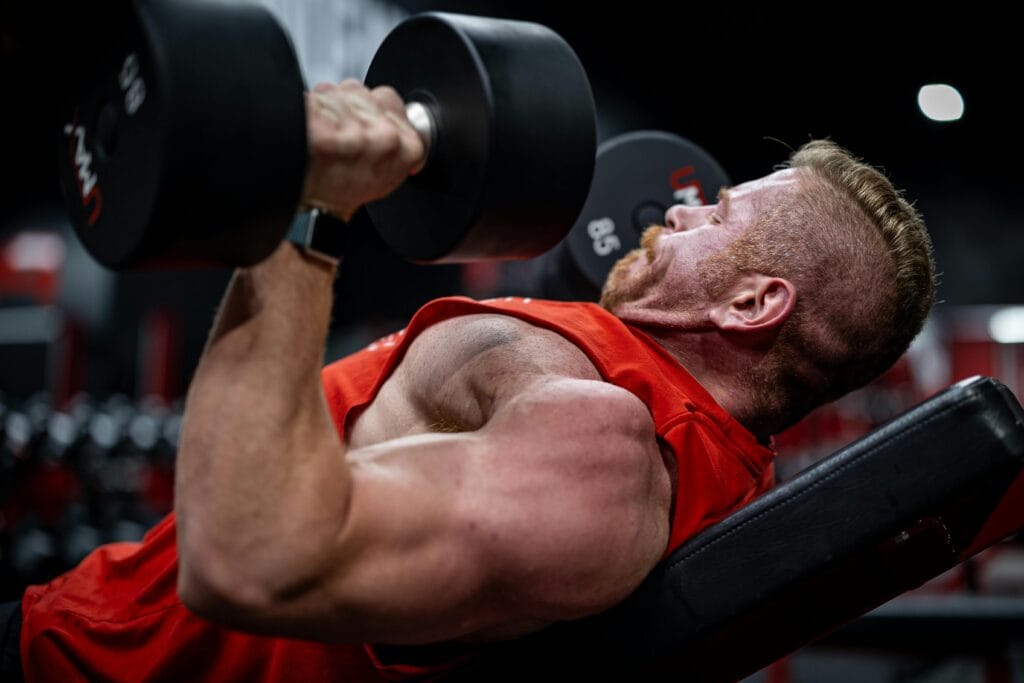
- Incline Dumbbell Press (15-30°): 4 sets of 8–10 reps. Focus on a 3-second lowering phase.
- Incline Smith Machine Press: 3 sets of 12–15 reps. Use the Smith machine to safely reach muscular failure without needing a spotter.
- Low-to-High Cable Flyes: 3 sets of 15 reps. Focus on the “bicep-to-bicep” squeeze at the top.
- Push-ups with Feet Elevated: 2 sets to failure. This is a great way to finish the muscle off using your own body weight as a final “burnout” stimulus.
Related Articles
- Low Volume, Max Results: Why the 30-10-30 Method is the Ultimate Muscle Hack You Need to Try
- The Forgotten King of Strength: One Simple Workout for Total-Body Power (That Isn’t the Deadlift)
- Forget the Barbell: This “Bear Hug Squat” Builds Strength, Fixes Posture, and Adds Years to Your Life
- Is Couch-to-5K Too Hard? Try This Gentle 8‑Week Plan That Gets You to 5K in 2026
- Getting Weaker? 7 Hidden Signs Your Workout Is Doing More Harm Than Good