FREE SHIPPING OVER $50
I Did 5 Minutes of Wall Sits for 14 Days—And the Change in My Knees Was Shocking
Most people view the wall sit as a high school gym class punishment—a grueling test of willpower that leaves your quads shaking and your pride wounded. I used to be one of those people, usually opting for “flashier” exercises like heavy barbell squats or explosive box jumps. However, after a lingering bout of “runner’s knee” started making my daily life miserable, I decided to simplify. I committed to exactly five minutes of wall sits every single day for two weeks. I wasn’t expecting a body transformation or a massive increase in my vertical jump; I just wanted to see if this “boring” isometric hold could actually move the needle on my joint pain.
What happened over those 14 days wasn’t just a physical change; it was a total recalibration of how my lower body functions. By the end of the first week, the “clicky” sensation in my patella had vanished. By day 14, my legs felt like solid pillars of granite, and my balance had improved significantly. The most shocking part wasn’t the muscle definition—though that certainly didn’t hurt—it was the profound sense of stability in my knees. If you have been struggling with “creaky” joints or feel like your legs are the weakest link in your fitness chain, this low-tech, zero-equipment challenge might be the most effective thing you ever do.
The Science of Isometric Tension and Joint Health
To understand why wall sits are so effective, we have to talk about Isometric Contraction. Most exercises are isotonic, meaning the muscle changes length (like a bicep curl). In a wall sit, the muscle remains at a constant length under high tension. This “static” load is a secret weapon for joint rehabilitation. When you hold a wall sit, you are creating massive amounts of tension in the quadriceps and the connective tissues around the knee without the “grinding” friction that occurs during a standard squat.
This tension triggers a process called mechanotransduction. Your cells sense the mechanical load and respond by strengthening the collagen fibers in your tendons and ligaments. Furthermore, because there is no movement in the joint, the “shear force” on the meniscus and cartilage is virtually zero. This makes it a “safe” way to build high levels of strength even if you are currently dealing with minor injuries.
Wall Sits vs. Standard Squats for Knee Health
| Feature | Standard Air Squat | Wall Sit (Isometric) |
| Joint Friction | Moderate to High | Zero / Near Zero |
| Muscle Fiber Recruitment | High (Concentric/Eccentric) | Maximum (Static Endurance) |
| Knee Stability Impact | Functional Range Focus | Ligament/Tendon Fortification |
| Risk of Form Failure | High (Back/Knee tracking) | Low (Back is supported) |
| Best For | Power and Mobility | Rehabilitation and Stability |
How Wall Sits Changed My Body
1. Rebuilding the “Internal Brace”
One of the first things I noticed during the 14-day challenge was how my “VMO” (Vastus Medialis Oblique) began to pop. This is the teardrop-shaped muscle just above the inside of your knee. Its primary job is to keep your kneecap tracking properly. Many knee issues stem from a weak VMO that allows the patella to “drift” and rub against the bone.
The wall sit forces the VMO to stay engaged for the entire duration of the hold. By day five, I felt like I had developed a “natural knee brace” made of muscle. This internal stability is what finally killed the dull ache I usually felt when walking down stairs or sitting for too long.
2. Blood Flow and “Tendon Flossing”
Tendons have notoriously poor blood supply compared to muscles. This is why tendon injuries take so long to heal. However, when you hold an isometric contraction for several minutes, you create a “tourniquet effect.” Once you finally stand up and release the tension, a massive surge of fresh, oxygenated blood rushes into the area.
This process, often called “nutrient flushing,” delivers the raw materials your tendons need to repair micro-tears. During my 14-day experiment, I noticed that the typical morning stiffness I used to feel in my patellar tendon was completely gone by the second week. It felt as though I was “greasing the hinges” of my lower body every single day.
3. Mental Grit and the “Lactate Threshold”
Let’s be honest: five minutes of wall sits is a mental battle. Around the two-minute mark, your brain starts screaming at you to quit. This is due to the buildup of lactic acid and the “burn” of metabolic stress. By pushing through those five minutes every day, I wasn’t just training my legs; I was training my central nervous system to handle discomfort.
This increased “pain tolerance” translates directly to other areas of fitness. When I returned to my regular running routine after the challenge, the hills felt significantly easier. My legs were conditioned to keep firing even when they felt like they were on fire.
4. Correcting Pelvic Tilt and Posture
Because the wall acts as a guide, you are forced into a “neutral” spinal position during a wall sit. Many of us suffer from “Anterior Pelvic Tilt” from too much sitting, which puts extra stress on the knees and lower back.
Pressing my lower back into the wall for five minutes a day acted as a form of postural “reset.” I had to engage my deep core and glutes to maintain the position. Transitioning back to standing, I found myself moving with a more “tucked” pelvis and better alignment, which further reduced the daily wear and tear on my knee joints.
The 14-Day Challenge Protocol
If you want to replicate these results, you need a plan. Don’t just slide down a wall and hope for the best. You need to be intentional about your form and your progression.
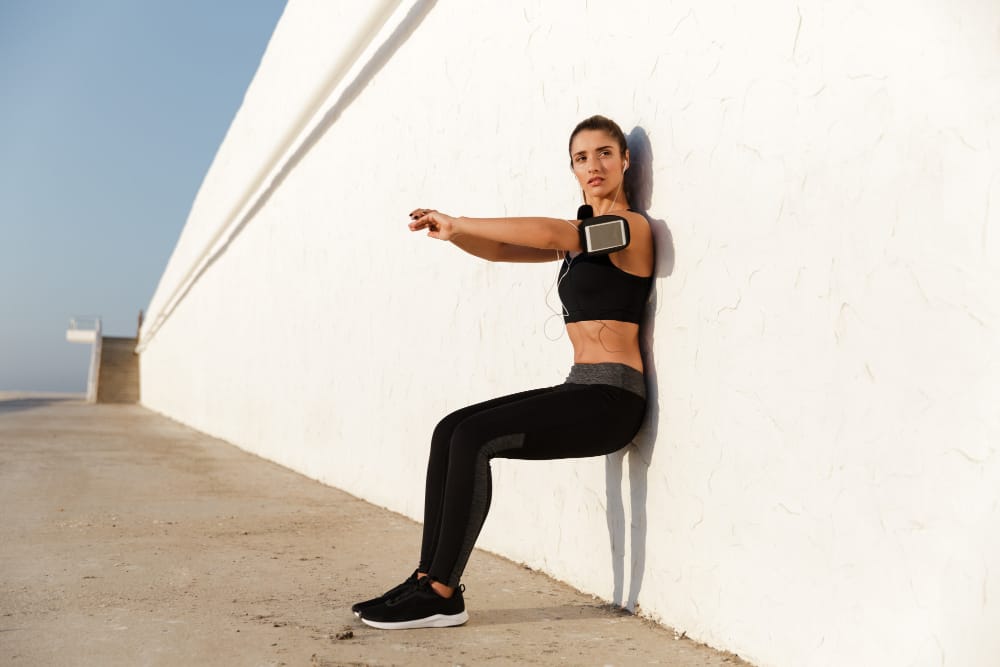
- The Setup: Stand about two feet away from a flat wall. Lean back until your back is flat against it, then slide down until your thighs are parallel to the floor.
- The Angle: Your knees should be at a 90-degree angle. If they are over your toes, you are too close to the wall; if they are behind your ankles, you are too far away.
- The Hands: Do not rest your hands on your knees! This “cheating” takes the load off your quads. Keep them at your sides or out in front of you.
- The Volume: If you can’t do five minutes at once, break it up. I started with five blocks of 60 seconds with a 15-second rest in between. By day 10, I could do the full five minutes unbroken.
What to Expect Day-By-Day
The 14-day journey is as much a psychological experiment as it is a physical one. Here is the reality of what your body goes through during the challenge.
- Days 1-3 (The “What Have I Done?” Phase): Your quads will shake uncontrollably after 45 seconds. You will likely feel sore the next morning in places you didn’t know you had muscles.
- Days 4-7 (The “Stability” Phase): The initial soreness fades. You’ll notice that you can find the “sweet spot” on the wall more easily. The “clicks” in your knees may start to decrease here.
- Days 8-11 (The “Engine” Phase): You start to feel the “pump” in your legs rather than just the pain. Your endurance is high enough that the first two minutes feel relatively easy.
- Days 12-14 (The “Shock” Phase): This is when you realize your knees feel “bulletproof.” You’ll notice better balance when putting on shoes and more power when walking uphill.
Related Articles
- How to Warm Up Before a Walking Workout: The Expert 3-Move Routine That Prevents Pain
- I Tried 5 Stretches Recommended by Yoga Teachers, PTs and Trainers — These Actually Fixed My Pain
- The V-Taper Illusion: 6 Moves That Sculpt a Narrow Waist and Broad Shoulders Fast
- Flabby Arms?: The 4 “Anti-Gravity” Moves That Tighten Bat Wings Faster After 45
- 92% of New Year Workouts Fail by February: The ‘Identity Shift’ Secret to Beating the Odds