FREE SHIPPING OVER $50
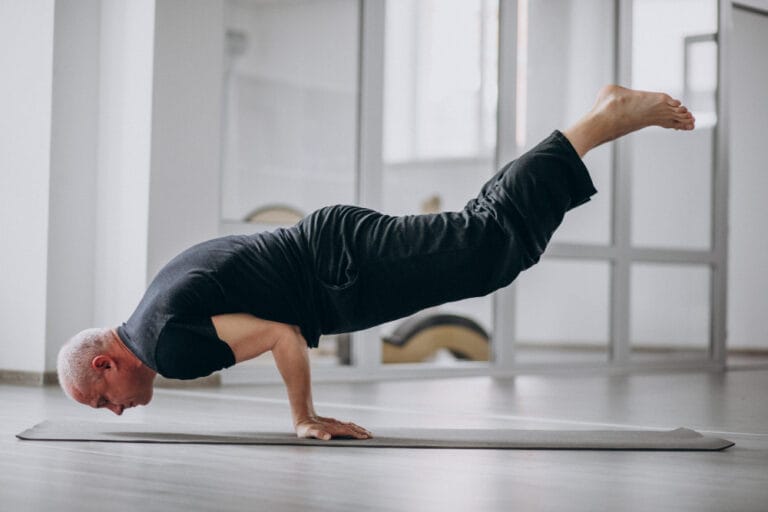
How to Warm Up Before a Walking Workout: The Expert 3-Move Routine That Prevents Pain
Most people treat walking as the warm-up itself, but starting “cold” is a leading cause of knee pain and hip stiffness. Think of your body like a high-performance vehicle; you wouldn’t redline the engine in freezing temperatures without letting the oil circulate. In your joints, that “oil” is synovial fluid, which only begins to coat your cartilage once you signal to your brain that movement is starting.
A proper warm-up primes your nervous system and increases the elasticity of your tendons, allowing you to walk faster with less effort. If you want to transform your daily stroll into a high-impact fitness tool while keeping your joints “young,” you need a transition period. This expert-backed 3-move routine resets your posture and lubricates your hinges before you take your first official stride.
The Science of the “Cold Start” vs. The Primed Joint
When you sit at a desk or in a car, your muscles shorten and your joints become “dry.” Without a warm-up, the first several hundred steps of your walk are essentially grinding bone-on-bone (microscopically speaking) until your body realizes it needs to produce more lubricant. This delay is why many walkers feel stiff for the first ten minutes and then “find their rhythm” later. By then, however, the micro-trauma to the connective tissue has already begun.
Warming up also addresses “recruitment.” If your glutes are “asleep” from sitting, your lower back and calves will overwork to compensate during your walk. A 3-move routine wakes up these major muscle groups, ensuring that the right muscles are doing the heavy lifting. This protects your smaller, more vulnerable joints from absorbing the shock of the pavement.
| Benefit | Impact on Your Walk | Why It Matters |
| Increased Blood Flow | Delivers oxygen to muscles faster | Prevents early fatigue and cramping |
| Synovial Fluid Circulation | Lubricates knees and hips | Reduces friction and long-term wear |
| Nervous System “Waking” | Better balance and coordination | Reduces risk of trips or ankle rolls |
| Improved Elasticity | Longer stride length | Increases calorie burn and pace |
3-Move Warm Up
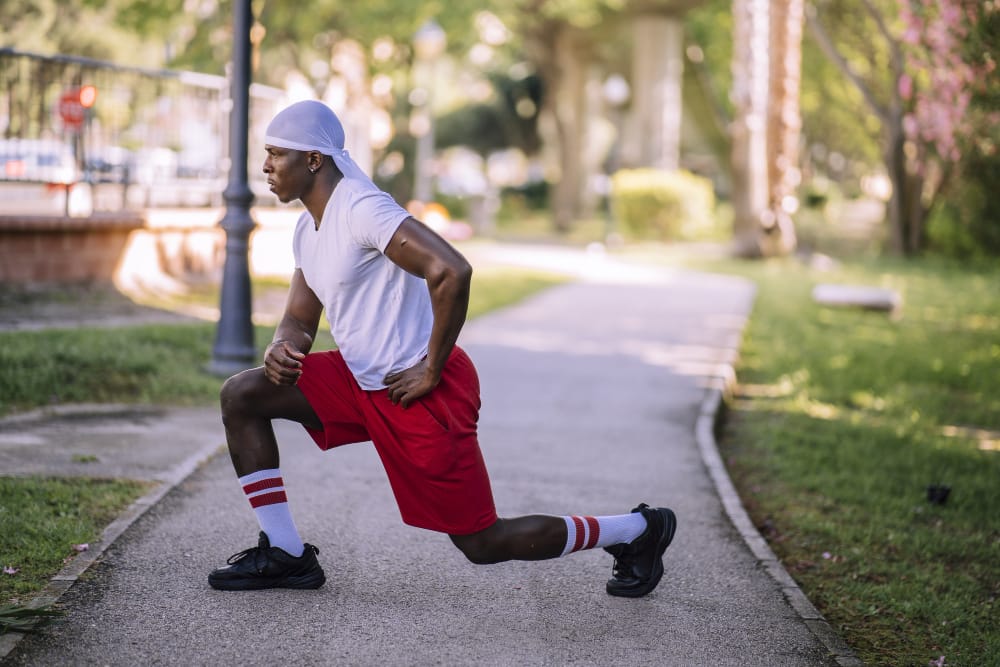
1. The Dynamic Leg Swing (The Hip Lubricator)
The hip is a ball-and-socket joint that requires movement in multiple planes to stay healthy. Most walking is strictly linear, meaning we move forward and back. Leg swings help “flush” the hip socket with fresh blood and fluid while stretching the hamstrings and hip flexors dynamically.
How to do it:
- Stand next to a wall or a sturdy tree for balance.
- Shift your weight to one leg and swing the other leg forward and backward like a pendulum.
- Keep your torso upright—don’t lean forward as the leg goes back.
- Start with small swings and gradually increase the range of motion as you feel looser.
- Perform 15 swings per leg.
This move is particularly effective for those who experience lower back pain. By loosening the hip flexors, you prevent them from pulling on your pelvis, which is a primary cause of “aching” in the lumbar spine during long walks.
2. The Standing “Cat-Cow” (The Spine & Core Reset)
Walking is a total-body movement, and your spine is the central pillar. If your mid-back is stiff, your hips can’t rotate properly, leading to an inefficient gait. The standing version of the classic yoga move helps decompress the vertebrae and activates your core stabilizers.
How to do it:
- Stand with your feet shoulder-width apart and your knees slightly bent.
- Place your hands on your thighs.
- Inhale as you arch your back slightly, looking up and pushing your chest out (the Cow).
- Exhale as you round your spine, tucking your chin to your chest and pulling your belly button in (the Cat).
- Move fluidly between these two positions for 10 repetitions.
By “unlocking” your spine, you allow your arms to swing more naturally. This natural arm swing acts as a counter-balance to your legs, which reduces the energy cost of walking and helps you maintain a faster pace for a longer duration.
3. The Ankle “Alphabet” and Calf Pump (The Shock Absorber)
Your ankles are the first point of contact with the ground. If they are stiff, your knees have to absorb the shock that the ankles failed to handle. Warming up the ankles ensures a smooth “heel-to-toe” transition, which is the hallmark of an efficient, pain-free walker.
How to do it:
- While standing on one leg (or sitting if balance is an issue), lift one foot off the ground.
- Use your big toe as a “pen” and draw the first 10 letters of the alphabet in the air.
- Follow this with 10 standing heel raises (calf raises) to pump blood into the lower legs.
- Switch feet and repeat.
Strengthening and warming the calves and ankles prevents common walking injuries like plantar fasciitis and shin splints. It ensures that your foot hits the ground softly and pushes off powerfully, giving you a “spring” in your step rather than a “thud.”
Timing and Environment: Making the Routine Stick
For the best results, perform this routine immediately before you start your walk. If you are walking in colder weather, you may want to perform the routine indoors first to get your core temperature up before hitting the chilly air. This prevents the sudden “tightening” of muscles that occurs when exposed to cold.
Consistency is more important than perfection. Even if you only have 60 seconds, doing five repetitions of each move is significantly better than doing nothing. Over time, these moves become a mental “cue” for your body, helping you transition more effectively from a “rest” state to a “work” state.
Related Articles
- I Tried 5 Stretches Recommended by Yoga Teachers, PTs and Trainers — These Actually Fixed My Pain
- The V-Taper Illusion: 6 Moves That Sculpt a Narrow Waist and Broad Shoulders Fast
- Flabby Arms?: The 4 “Anti-Gravity” Moves That Tighten Bat Wings Faster After 45
- 92% of New Year Workouts Fail by February: The ‘Identity Shift’ Secret to Beating the Odds
- The 5 Secret Exercises A-List Celebrities Swear By to Stay Muscular at Any Age