FREE SHIPPING OVER $50
How to Sculpt Stronger Arms After 45: 6 No-Equipment Moves That Beat Dumbbells
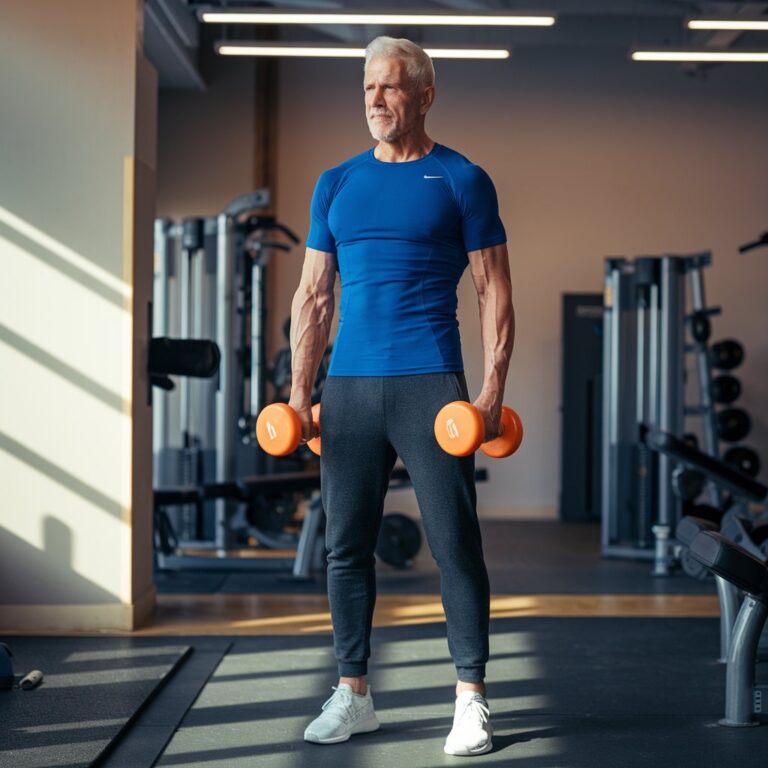
Many believe that turning 45 marks an inevitable slide toward “bat wings” and lost definition. While traditional heavy lifting often leads to joint inflammation and elbow pain, your body is actually the only weight machine you need for a total transformation. After 45, your connective tissues become less elastic, making high-impact dumbbell movements a liability. The secret to firm arms at this stage isn’t maximum load; it’s “time under tension” and mechanical advantage.
Sculpting toned arms in your mid-forties and beyond is about targeting deep stabilizing muscles that dumbbells often miss. By using your own bodyweight, you can tighten sagging skin and build lean muscle without the joint strain of traditional lifting. If you are ready to work with your biology rather than against it, these six moves will help you reclaim the defined, strong arms you thought were gone for good.
Why Bodyweight May Beats Weights for the 45+ Demographic
As we age, the focus of our fitness should shift from “maximum load” to “structural integrity.” Dumbbells provide a concentrated weight that can easily pull a joint out of alignment if your form isn’t perfect. In contrast, no-equipment moves usually involve “closed-chain” exercises where your hands are fixed against a surface. This naturally stabilizes the shoulder and elbow, allowing you to push your muscles to failure without risking a trip to the physical therapist.
Furthermore, bodyweight training leverages isometrics and eccentric loading. This means you are keeping the muscle engaged for a longer duration through the entire range of motion. This is the gold standard for tightening loose skin and building the “toned” look rather than just “bulking up.”
| Feature | Dumbbell Training | Bodyweight Training |
| Joint Impact | High (Potential for strain) | Low (Natural alignment) |
| Muscle Focus | Isolated | Functional & Integrated |
| Convenience | Requires gym/home set | Zero cost, do anywhere |
| Skin Tightening | Focuses on muscle volume | Focuses on tension and tone |
6 No-Equipment Moves That Sculpt Stronger Arms
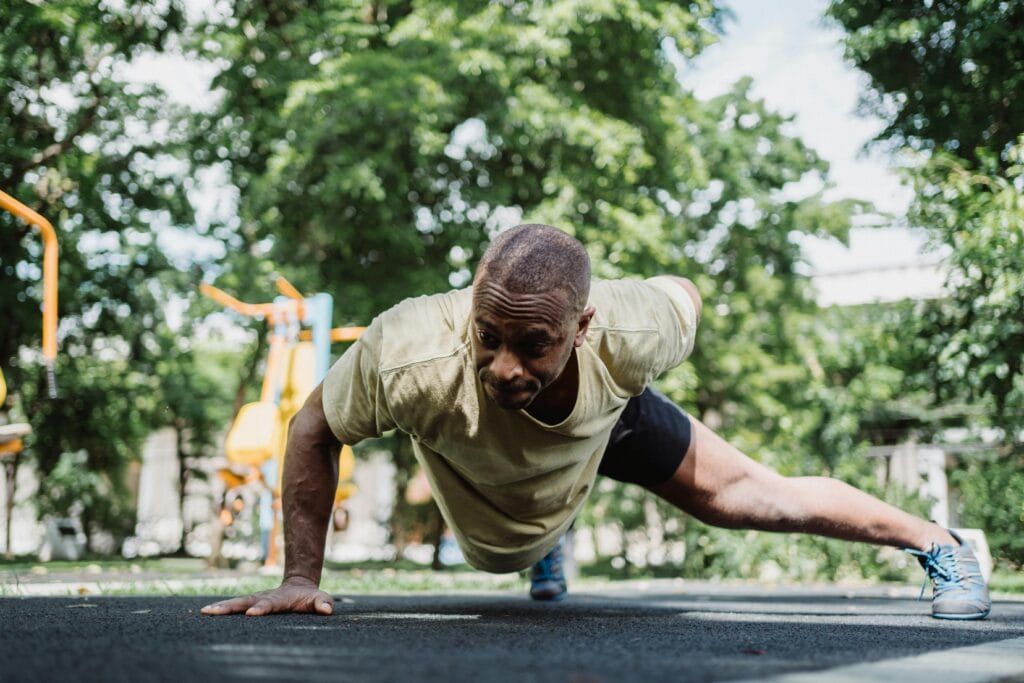
1. The Diamond Wall Push-Up (Tricep Isolator)
The back of the arm is the area most people struggle with after 45. Traditional push-ups are great, but the “Diamond” hand placement shifts the entire workload to the triceps. Doing these against a wall instead of the floor allows you to control the resistance and protect your wrists.
How to do it:
- Stand about two feet away from a wall.
- Place your hands on the wall at chest height, touching your index fingers and thumbs together to form a diamond shape.
- Keep your body in a straight line as you lower your chest toward your hands.
- Keep your elbows tucked in close to your ribs—don’t let them flare out.
- Push back to the start, squeezing the back of your arms at the top.
- Aim for 15 to 20 controlled repetitions.
2. Floor Dips with “Static Hold”
Traditional chair dips can be brutal on older shoulders because they force the joint into an extreme range of motion. Floor dips are much safer because the range is limited, but the intensity is doubled by adding a static hold at the top of the movement.
How to do it:
- Sit on the floor with your knees bent and feet flat.
- Place your hands behind you, fingers pointing toward your feet.
- Lift your hips off the floor by straightening your arms.
- Instead of just “pulsing” up and down, hold the top position for 5 seconds, squeezing your triceps as hard as possible.
- Lower your hips slightly (don’t touch the floor) and repeat.
3. Isometric Arm Circles (The Endurance Builder)
Don’t let the simplicity fool you. This move uses a constant state of contraction to fatigue the deltoids (shoulders) and biceps. By maintaining a specific “tension” in the arms, you stimulate the muscle fibers responsible for that “cut” look.
How to do it:
- Stand tall with arms extended straight out to your sides at shoulder height.
- Turn your palms to face the ceiling (this engages the biceps).
- Make small, tight circles forward for 30 seconds, then backward for 30 seconds.
- The Secret: Throughout the move, pretend you are trying to reach the walls on either side of you. This “reaching” creates the internal tension that builds tone.
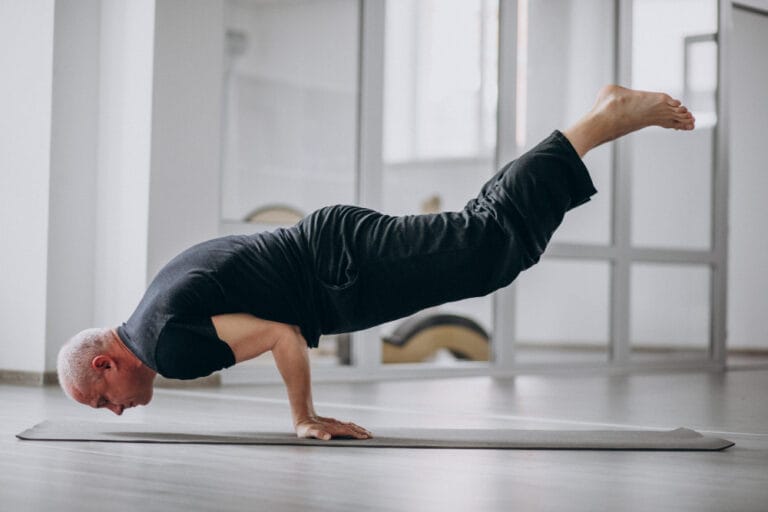
4. Planché Lean (Shoulder and Core Sculptor)
This is a gymnastics-based move that provides an incredible amount of tension to the front of the shoulders and the biceps. It requires no movement at all, making it perfect for those with “clicky” joints.
How to do it:
- Get into a high plank position on your hands (or use a kitchen counter for a modified version).
- Instead of staying in a standard plank, slowly lean your body forward so your shoulders move past your wrists.
- You will feel your biceps and forearms light up as they work to stabilize you.
- Hold this lean for 20 to 30 seconds.
5. Inverted Row (The Bicep Pull)
Bicep curls are the most common arm exercise, but they don’t engage the back. The Inverted Row is a “pulling” movement that hits the biceps and the muscles between your shoulder blades, which helps pull your shoulders back and makes your arms look longer and leaner.
How to do it:
- Find a sturdy table or a low bar (like a park railing).
- Lie underneath it and grab the edge with an underhand grip (palms toward you).
- Keep your body straight and pull your chest toward the table.
- Squeeze your biceps at the top and lower yourself with control.
- If a table feels too hard, do this standing in a doorway: grab the doorframes and lean back, then pull yourself forward.
6. Cobra Push-Ups (The Long-Head Tricep Target)
This move combines a yoga stretch with a tricep press. It targets the “long head” of the tricep, which is the largest part of the arm muscle. Strengthening this area provides the structural support needed to eliminate sagging skin.
How to do it:
- Lie on your stomach with your hands under your shoulders.
- Instead of lifting your whole body like a standard push-up, keep your hips on the floor.
- Use only your arms to lift your upper body as high as you can go while keeping your elbows tucked.
- Lower back down slowly. The “lowering” phase is actually where the most muscle-toning happens.
The 45+ Arm Success Strategy: Time, Not Reps
When you aren’t using heavy weights, you need to change how you measure success. Instead of counting to 10 and stopping, focus on “Total Time Under Tension.” Try to keep your muscles working for 45 to 60 seconds per set. This triggers the production of local growth factors that help skin elasticity and muscle density.
Consistency is also your best friend. Because these moves are low-impact, you can perform them 3 to 4 times a week without needing the long recovery times that heavy lifting requires. Think of it as a “daily maintenance” for your mobility and tone.
Related Articles
- How Exercise Rewires Your Brain to Make Smarter Choices, According to Science
- Scientists Reveal the Simple Exercise That Makes 80-Year-Old Muscles Perform Like 25
- The “Lazy Girl” Workout: 10 Couch Moves That Tone Your Body While You Binge Netflix
- One Simple Exercise That Eases Knee Arthritis Pain Better Than Rest, Backed by Science
- No Time? 10 Genius Ways to Squeeze Workouts Into Your Busy Day