FREE SHIPPING OVER $50
Don’t Book That Surgery Yet: 10 Exercises To Try Before Knee Replacement Surgery
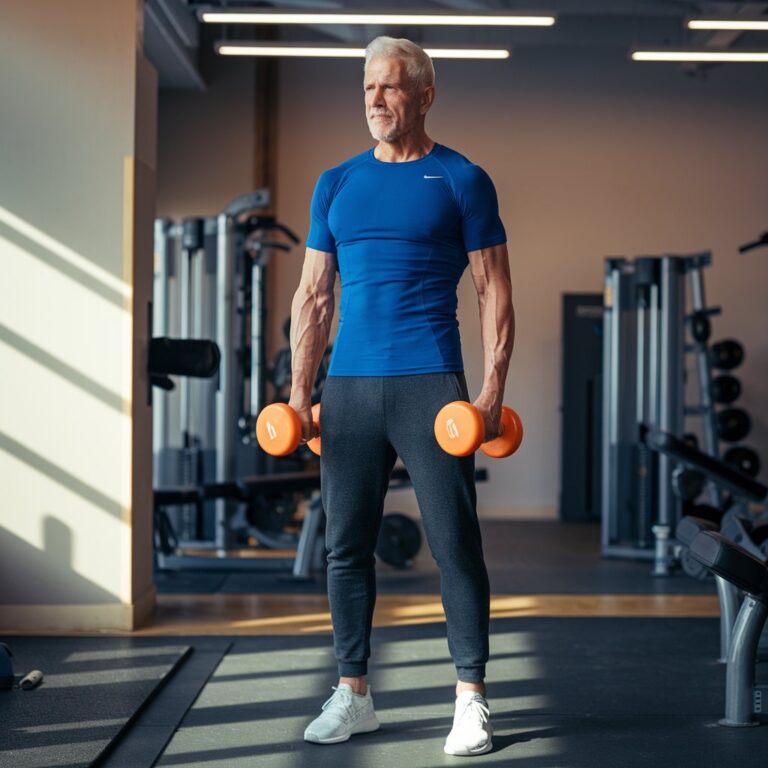
Facing a total knee replacement is daunting, often felt as the inevitable end to years of “bone-on-bone” pain. However, modern orthopedics highlights “pre-habilitation” as a powerful alternative. By strengthening the muscles surrounding the knee, you create a “natural brace” that absorbs the shock your cartilage can no longer handle. Many patients find that a targeted strengthening program drops pain levels enough to delay or even cancel surgical consultations.
Knee pain is often a result of weakness in the quads, glutes, and calves, which forces the joint to bear the brunt of every step. These 10 low-impact moves re-educate your nervous system to stabilize the joint, reducing the sheer force placed on the bone. Whether you eventually choose surgery or not, entering the operating room with strong legs drastically improves recovery times and long-term outcomes.
Why Strengthening Often Beats Surgery
Surgery addresses the structural damage, but it doesn’t fix the movement patterns that caused the wear and tear in the first place. Many people find that even after a successful replacement, they still experience discomfort because their supporting muscles remain weak. By focusing on “joint-sparing” exercises, you increase blood flow to the area, which promotes the circulation of synovial fluid. This fluid acts as your body’s internal WD-40, keeping the hinges moving smoothly.
| Benefit | Impact on Knee Health | Long-term Result |
| Quadriceps Strength | Takes pressure off the patella | Reduced “grinding” sensation |
| Glute Activation | Prevents knee “caving” | Improved alignment and less hip pain |
| Increased Circulation | Delivers nutrients to the joint | Faster healing of minor inflammation |
| Range of Motion | Prevents joint capsule tightening | Better mobility in stairs and chairs |
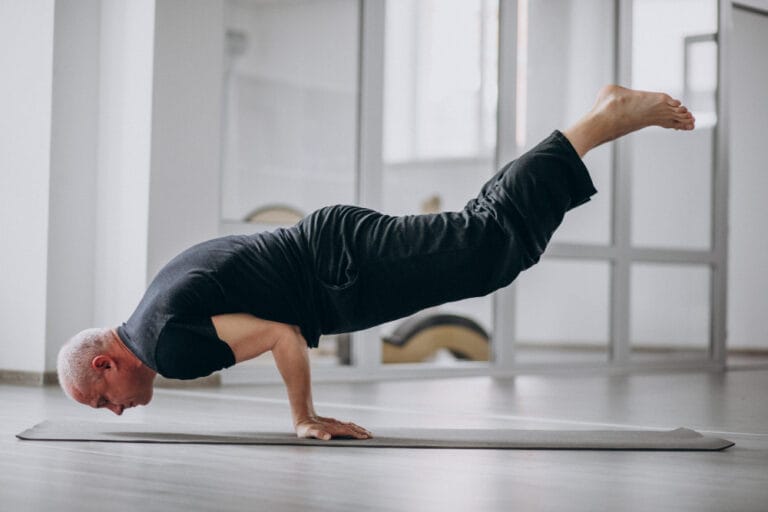
10 Exercises for Bulletproof Knees
1. Straight Leg Raises (The Quad Primer)
This is the gold standard for knee health because it strengthens the quadriceps without placing any weight or “compression” on the knee joint itself. If you can’t tolerate standing exercises yet, this is your starting point.
How to do it:
- Lie flat on your back on a firm surface.
- Bend one knee and keep the other leg straight.
- Tighten the muscles on the top of your straight leg and lift it to the height of the opposite knee.
- Hold for 2 seconds and lower slowly.
- Complete 15 repetitions per leg.
2. Clamshells (The Lateral Stabilizer)
Knee pain is often a “hip problem” in disguise. If your lateral glutes are weak, your knee will wobble inward when you walk. Clamshells target the gluteus medius, which keeps your leg in perfect alignment.
How to do it:
- Lie on your side with hips and knees bent at 45 degrees.
- Keep your feet together and lift your upper knee as high as possible without shifting your pelvis.
- Slowly lower back down.
- Perform 20 reps per side to stabilize the “outer” knee.
3. Terminal Knee Extensions (TKEs)
This move is a “functional” exercise that translates directly to better walking. It teaches your knee how to lock out and support your weight correctly without the high impact of a squat.
How to do it:
- Loop a resistance band around a sturdy pole and place the other end behind your knee.
- Face the pole with a slight bend in the knee.
- Straighten your leg against the resistance of the band, squeezing your quad.
- Hold for 3 seconds and release.
- This move “pumps” blood into the joint capsule effectively.
4. Wall Sits (The Isometric Burn)
Isometric exercises (holding a position) are incredible for pain management because they build strength without irritating the joint surfaces. Wall sits allow you to build massive quad endurance safely.
How to do it:
- Lean your back against a wall and slide down until your knees are at a comfortable angle (doesn’t have to be 90 degrees).
- Ensure your heels are directly under your knees.
- Hold the position for 30 to 60 seconds.
- This “wakes up” the stabilizing fibers that protect the kneecap.
5. Heel Slides (The Mobility Flush)
If your knee feels “stuck,” it’s often because of a tight joint capsule. Heel slides are a gentle way to restore the range of motion required for sitting and standing.
How to do it:
- Lie on your back with legs straight.
- Slowly slide your heel toward your buttocks, bending the knee as far as comfortable.
- Hold for a second, then slide back out.
- Use a towel under your heel if you are on a carpeted surface to reduce friction.
6. Bridge with Squeeze (The Inner-Knee Support)
The “VMO” (the teardrop-shaped muscle on the inner knee) is crucial for tracking. By squeezing a ball or pillow during a bridge, you engage the adductors and the inner quad simultaneously.
How to do it:
- Lie on your back with knees bent and feet flat.
- Place a small pillow or ball between your knees.
- Squeeze the pillow while lifting your hips toward the ceiling.
- Hold at the top for 3 seconds while maintaining the squeeze.
- Lower slowly and repeat 15 times.
7. Step-Ups (The Real-World Test)
Stairs are usually the biggest hurdle for knee patients. Step-ups build the eccentric strength (the “lowering” phase) that prevents your knee from “giving out.”
How to do it:
- Use the bottom step of a staircase.
- Step up with your “bad” leg, concentrating on keeping the knee aligned over your second toe.
- Step back down slowly.
- Focus on a “soft” landing to train the muscles to absorb shock.
8. Calf Raises (The Lower Shock Absorbers)
Your calves act as a secondary suspension system. Strong calves help take the “jarring” sensation out of walking on hard surfaces like concrete or tile.
How to do it:
- Stand with your feet hip-width apart, holding onto a counter for balance.
- Rise up onto your toes as high as possible.
- Lower down slowly—don’t just drop.
- Aim for 20 reps. This improves the blood flow from your lower extremities back to the heart.
9. Hamstring Curls (The Counter-Balance)
If your quads are much stronger than your hamstrings, it creates an “imbalance” that pulls the knee joint out of alignment. Strengthening the back of the leg provides a necessary counter-force.
How to do it:
- Stand and hold onto a chair.
- Lift your heel toward your glutes, keeping your knees aligned.
- Don’t let your thigh move forward.
- For an extra challenge, add light ankle weights or a resistance band.
10. Seated Knee Extensions (The Range Builder)
This is a controlled way to build strength in the final degrees of extension, which is often where people lose mobility first.
How to do it:
- Sit in a firm chair with your back straight.
- Slowly straighten one leg in front of you until it is fully locked.
- Squeeze the quad hard for 5 seconds.
- Lower slowly. Do 15 reps per leg to ensure your knee can fully support your weight when standing.
The “Pre-hab” Strategy: How to Progress
When starting this routine, the most important factor is the absence of sharp pain. You should feel a “muscle burn,” but you should never feel a “stabbing” sensation inside the joint. If a move hurts, reduce the range of motion or skip it and try again in a week.
Consistency is your best friend. Most patients see a significant reduction in pain after 4 to 6 weeks of daily practice. This is the amount of time it takes for “neurological adaptation”—essentially, your brain getting better at using the muscles you already have. Once the muscles are firing, the pressure on the bone-on-bone areas decreases, and your quality of life increases.
Related Articles
- The 4-Minute “Reset”: The Only Daily Protocol for Chronic Pain (PT Approved)
- Crunches Hurt Your Back? 5 Gentle Bed Exercises That Flatten Your Belly After 60
- The “Lazy Girl” Workout: 10 Couch Moves That Tone Your Body While You Binge Netflix
- One Simple Exercise That Eases Knee Arthritis Pain Better Than Rest, Backed by Science
- No Time? 10 Genius Ways to Squeeze Workouts Into Your Busy Day